Install SDL on Windows
The goal of this tutorial is to install SDL on Windows with Visual Studio 2017. If you are on linux you can follow this tutorial : Install SDL on Linux
Like any other C++ libraries you download the latest version. If you want to compile SDL2 you need to pick the source code.
If you want to have your program ready without complexities, SDL2 is avaible compiled in the Development Libraries category.
Here I will assume you have taken the precompiled package for windows.
Install SDL for Visual Studio 2017
I have downloaded the package SDL2-devel-2.0.9-VC.zip after that I need to extract the package in the folder where I put all my libraries.
You should have a folder containing the following files and folders :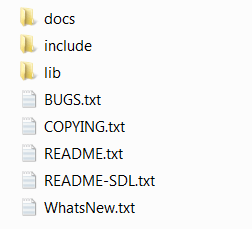
Then create an empty C++ project with Visual Studio: File > New > Project…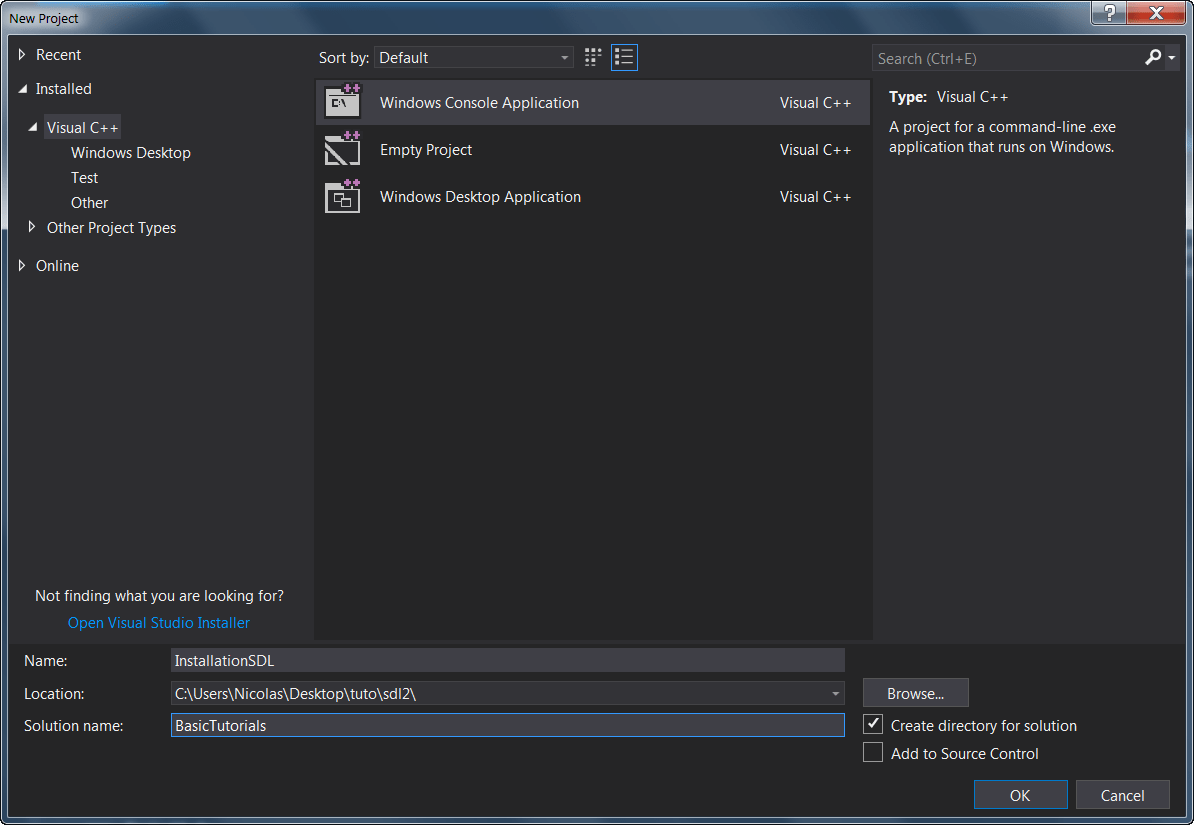
Confirm the creation with OK
Right click on the project > Properties
Check at the to left the configuration is on Release, and then go to C/C++ > General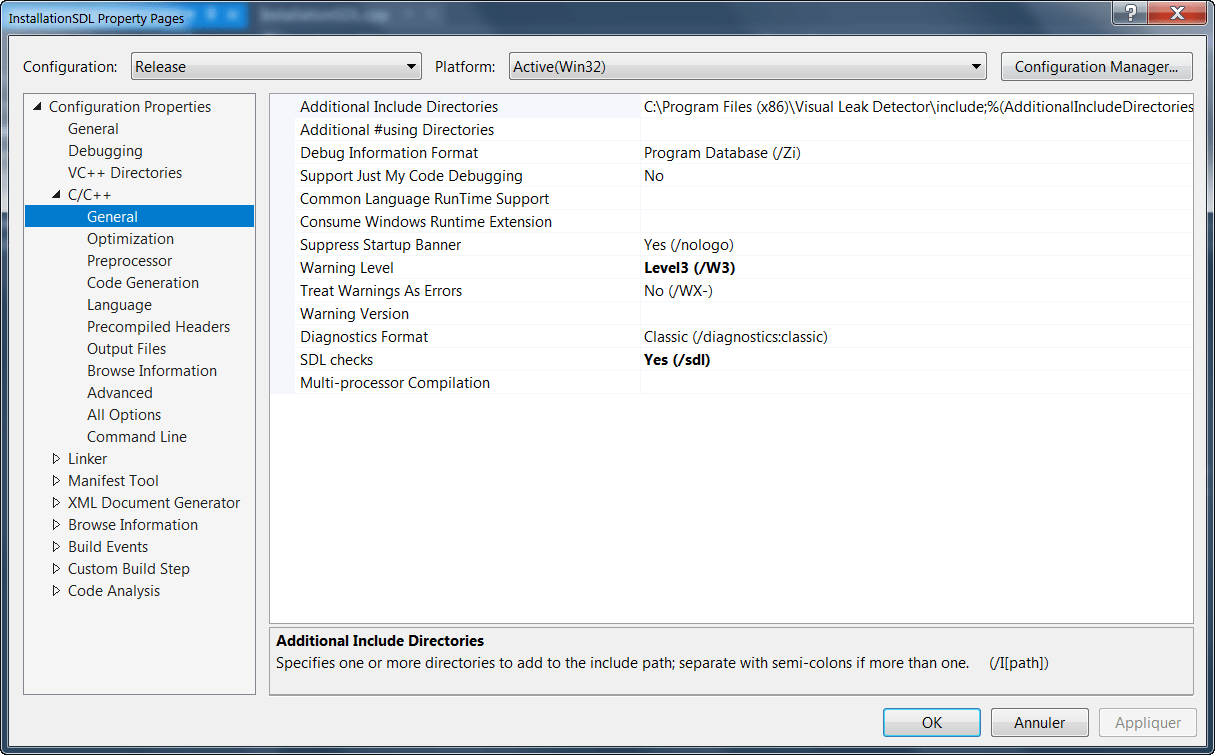
Click on the down arrow on Additionnal include directories
You should see a new window with :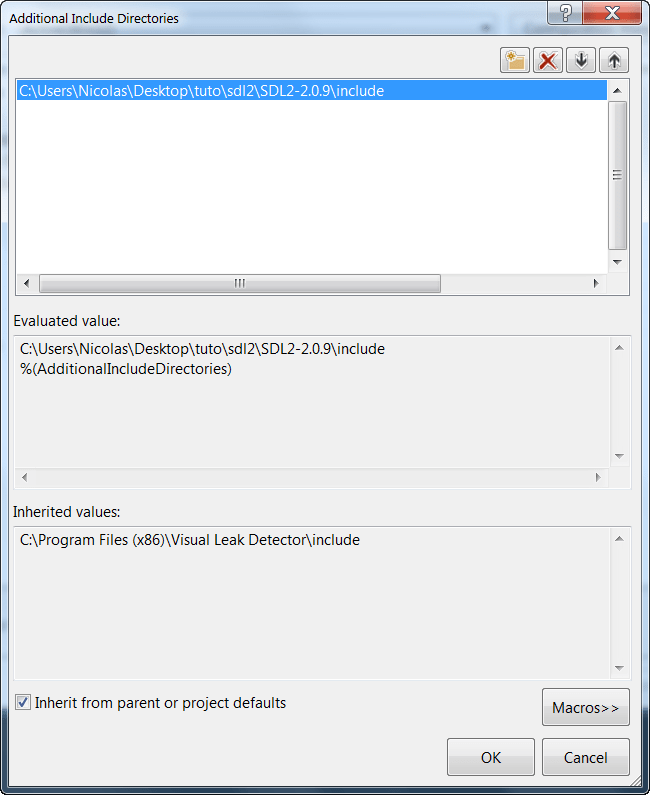
Add the path to the include folder.
Then Apply the changes and confirm with OK
The next thing to do is to return to the properties then go to Linker > General > Additionnal Library Directories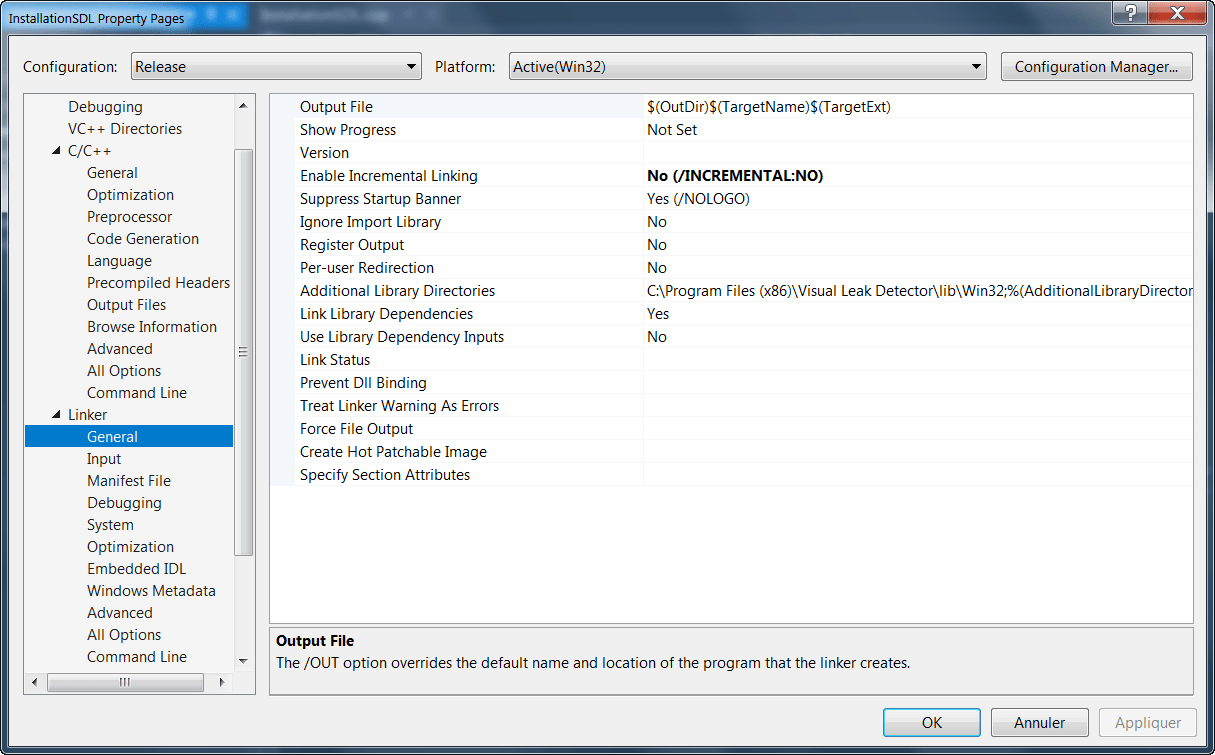
Then add the path to the lib folder: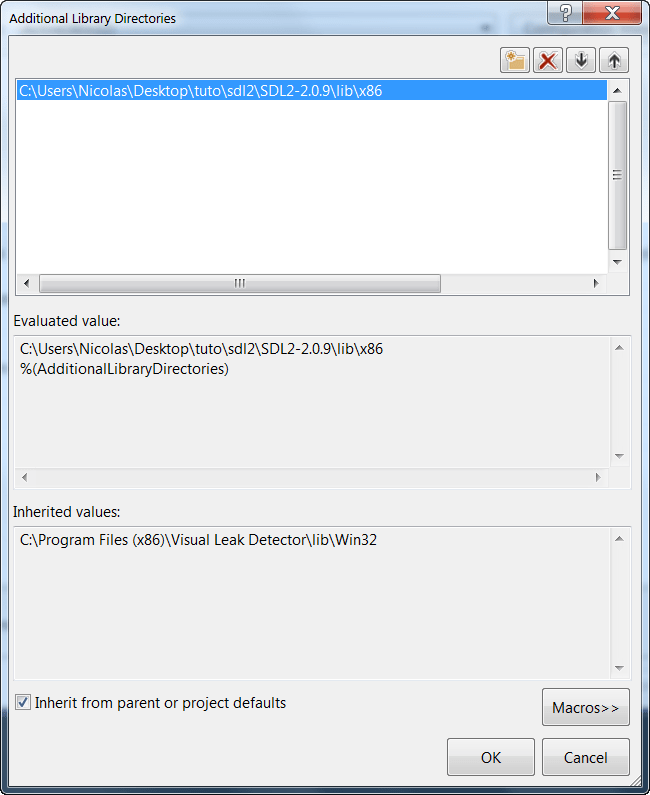
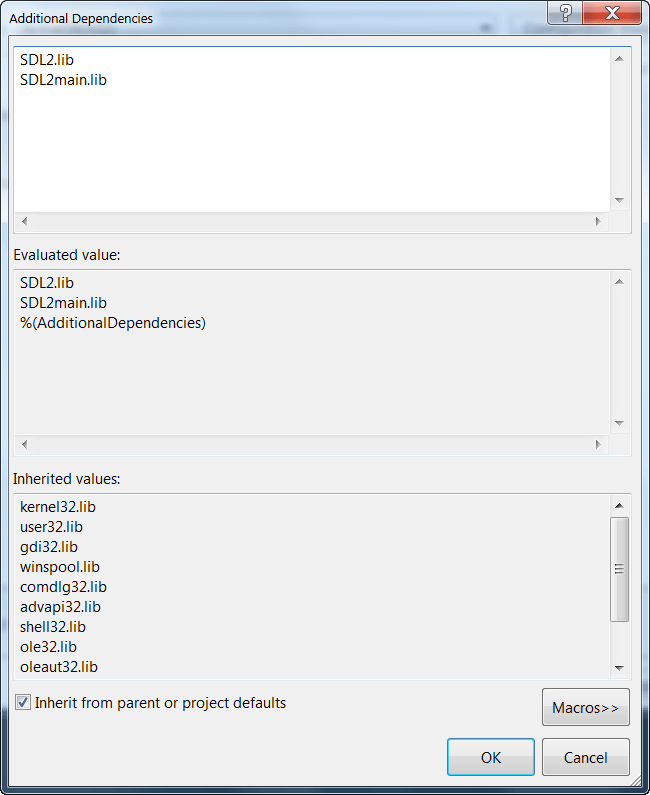
We need to tell visual studio witch lib files to use, for that go in Linker > Input > Additionnal Dependencies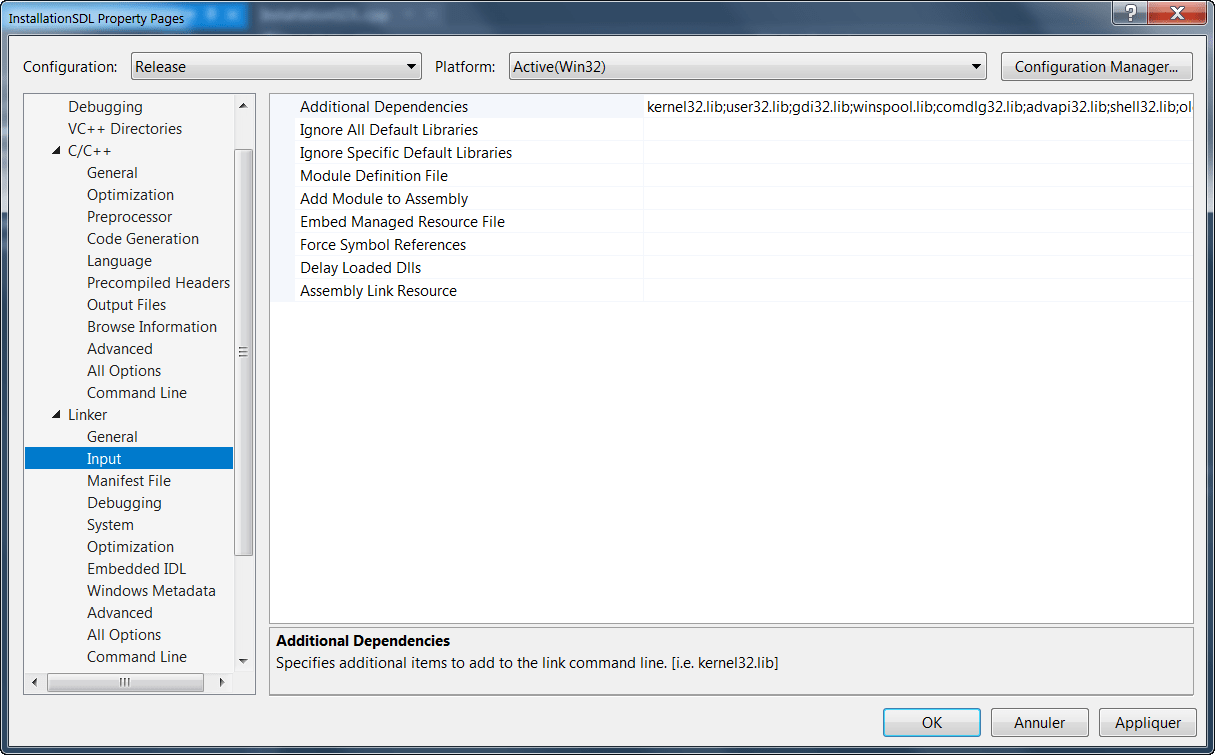
- SDL2.lib
- SDL2main.lib
When everything is done you need to Apply the changes and confirm with OK
In the project you need delete the precompiled header phc.h and phc.c and then return in the properties :
C/C++ > Precompiled Headers > Not Using Precompiled Header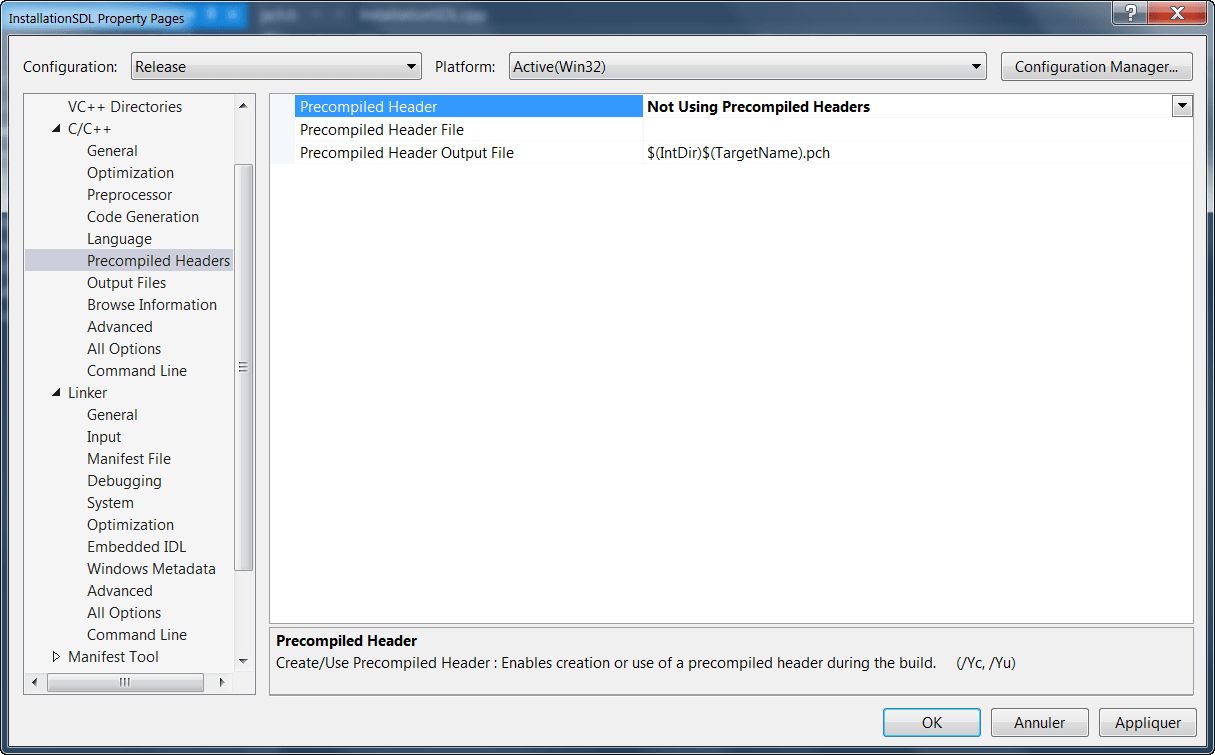
Replace the main.cpp of the program with:
#include <iostream>
#include "SDL.h"

int main(int argc, char* argv[]) {
if (SDL_Init(SDL_INIT_VIDEO) != 0) {
    std::cout << "Unable to initialize SDL: " << SDL_GetError();
    return 1;
}

SDL_Quit();
return 0;
}
This allow to test the installation of SDL on Windows.
We can build the program and everything should compile just fine. 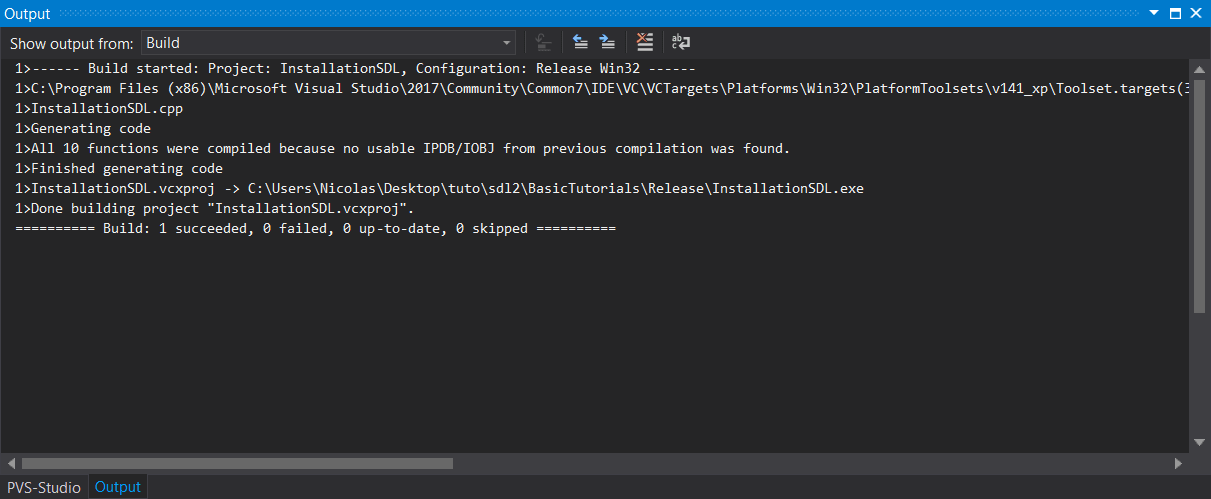
After the project is built the last thing to do is to add the file SDL2.dll into the Release folder of the solution, the one containing the executable.
Basically the program do nothing, just initialise and close SDL, so how do we know the installation is succeful.
If you see in the visual studio console : has exited with code 0 (0x0) everything is working!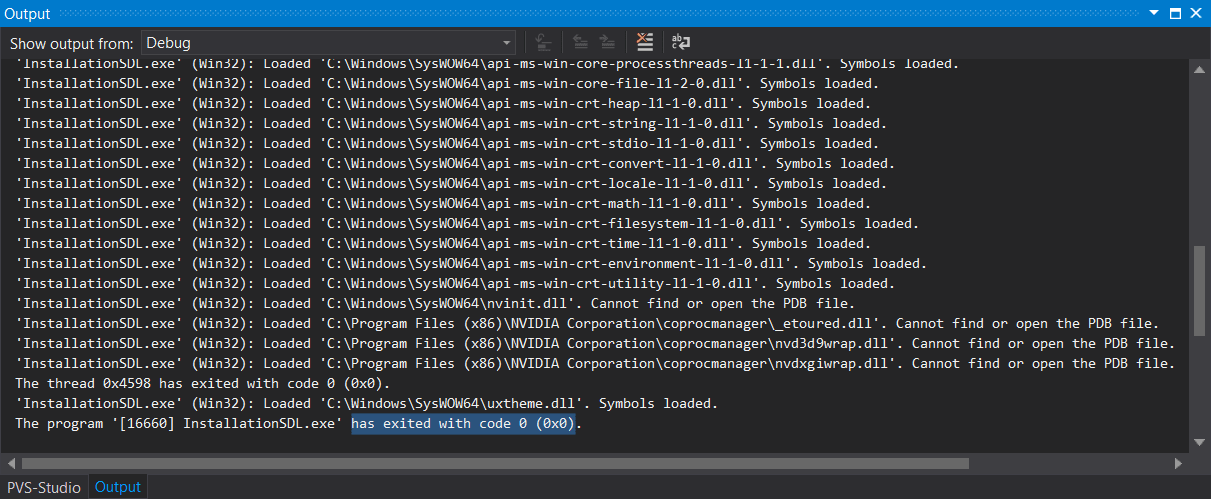
If there is a problem, the program will exit with the return code 1. The installation of SDL on windows is complete the program should work fine.